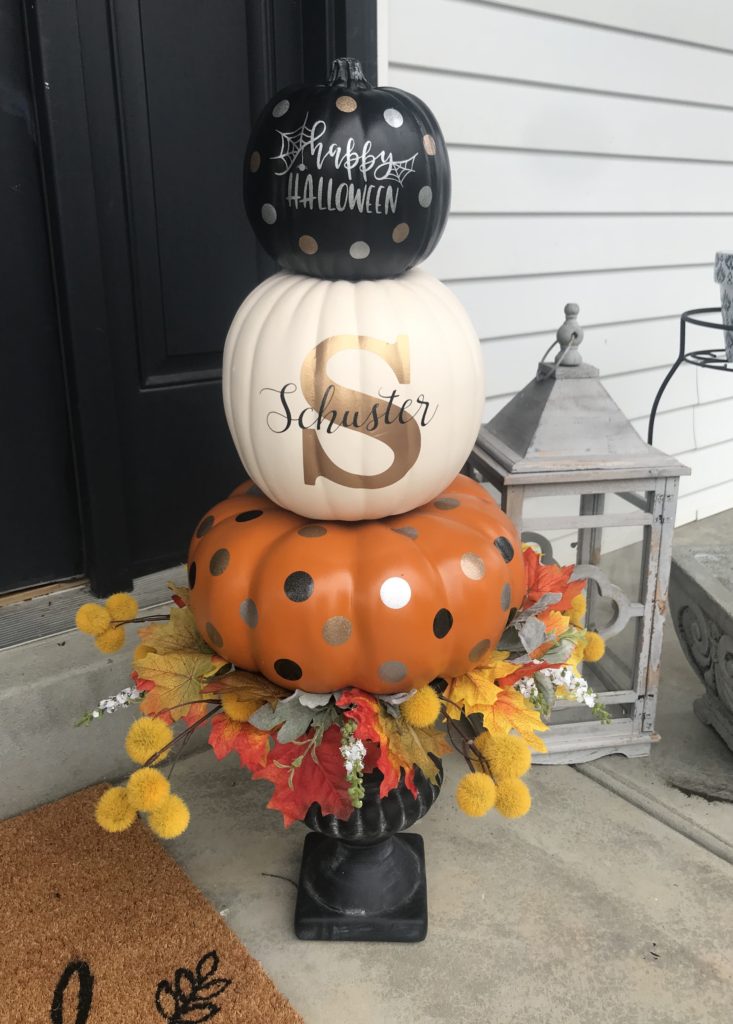
The air is crisp and sweaters and jeans are the wardrobe of choice. It can only mean one thing… autumn has arrived! If you’re like me you start decorating for Halloween as soon as September hits. I know it’s a bit early but fall is my favorite season and it seems like it flies by every year. There’s so much to do and so little time to get everything accomplished. I started my newest obsession early this year… pumpkin topiaries! I love all of the creative variations and I thought I’d add my own spin to this fall classic. Adding a little Halloween spirit to a traditional initial design, I created something that fits my style. I’ll give you the basics on how to build your own pumpkin topiary to incorporate into your home and fall decor. Happy Fall, Y’all!
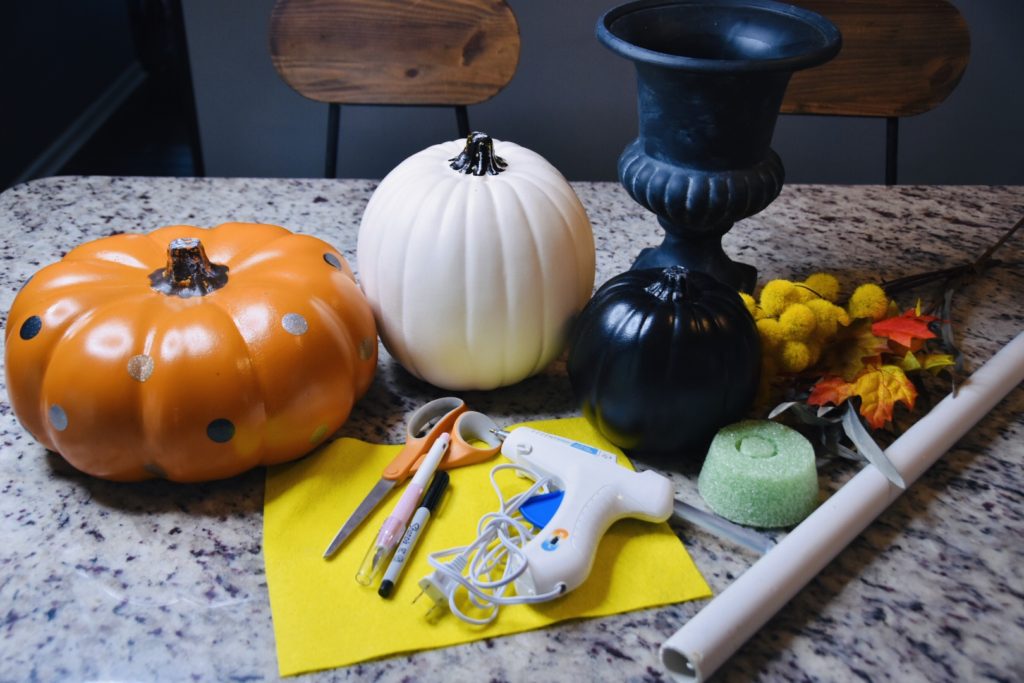
Materials:
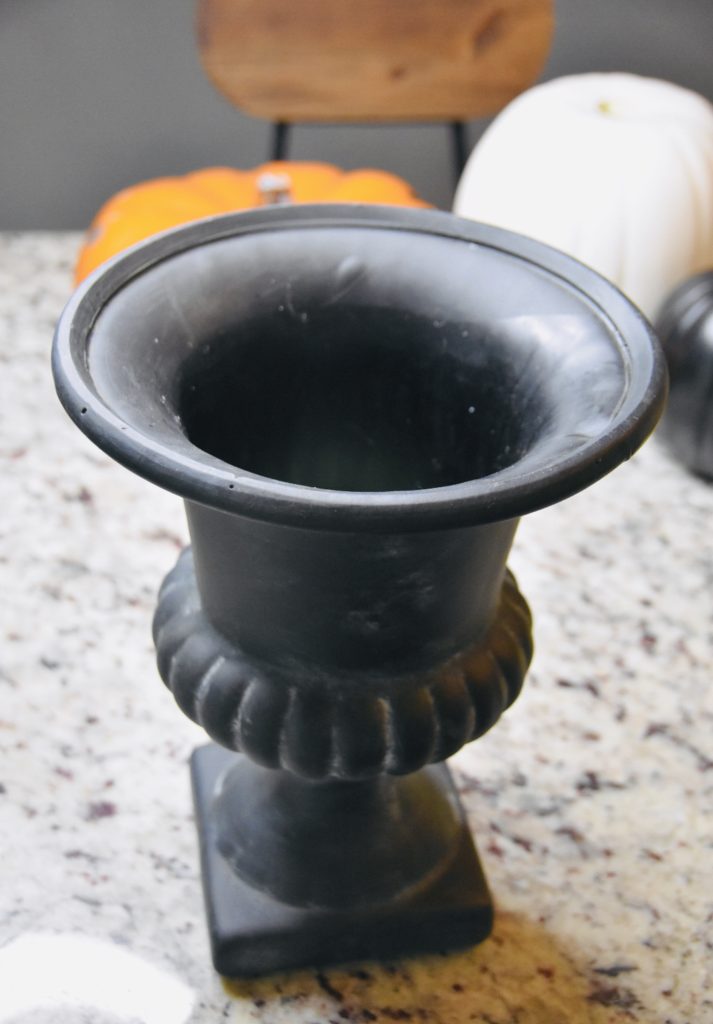
Urn
3 Styrofoam Pumpkins (3 sizes, small/medium/large)
Styrofoam (the shape depends on the size and shape of your urn)
1″ PVC Pipe
Fall leaves, flowers and greenery for base of the pumpkin
Hot Glue Gun & Glue
Exacto Knife
Black Marker
1 Piece of Felt
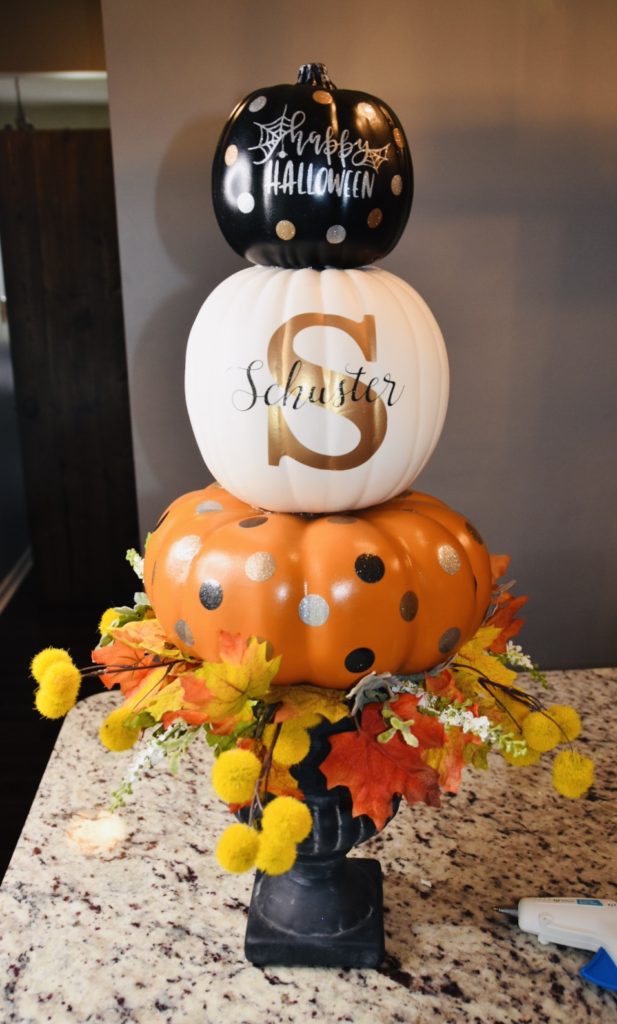
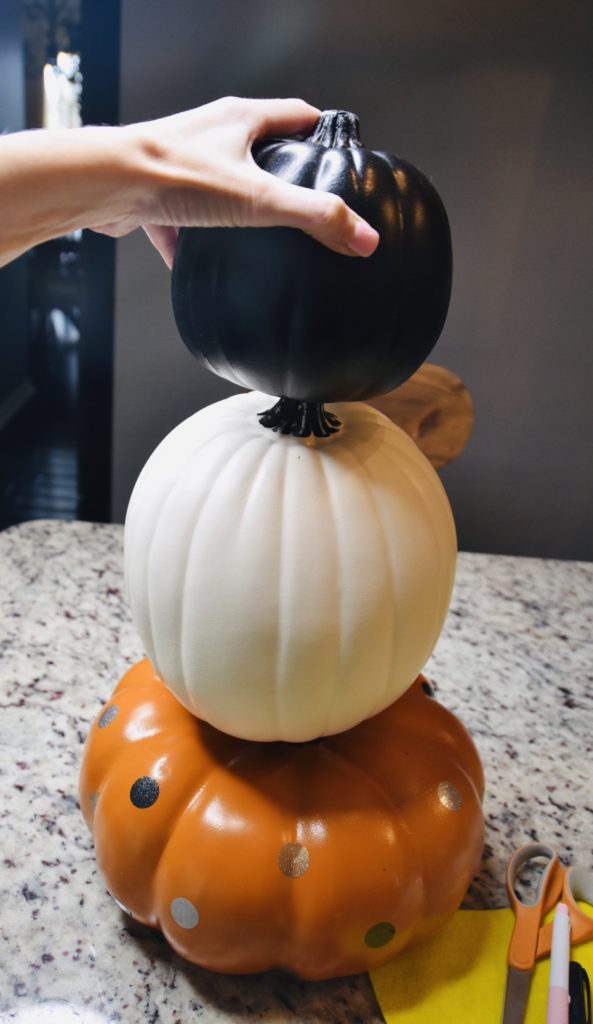
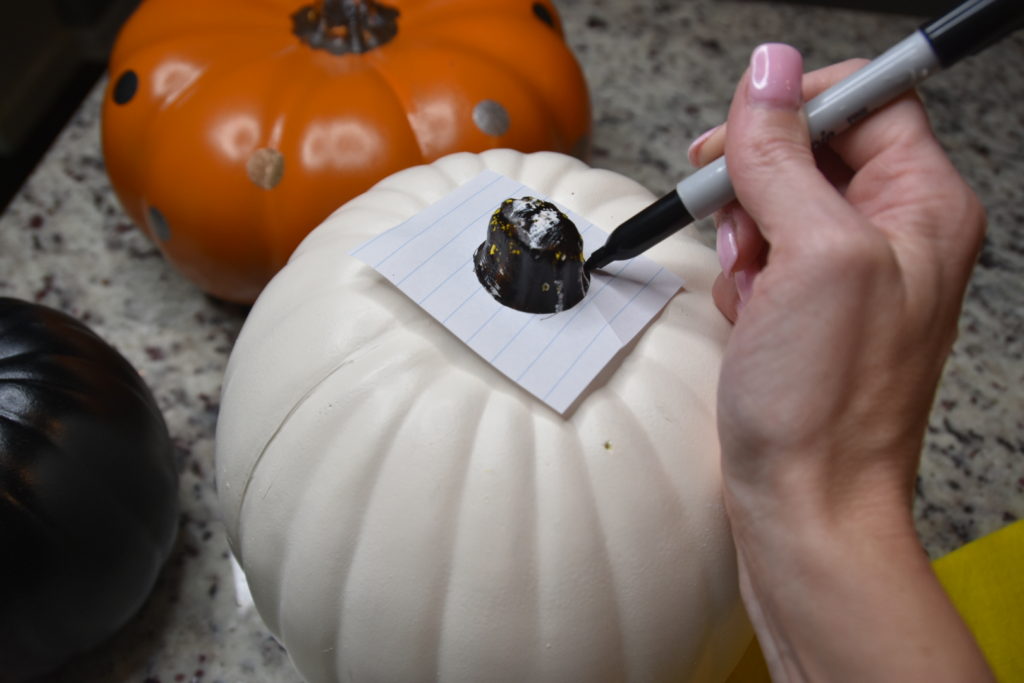
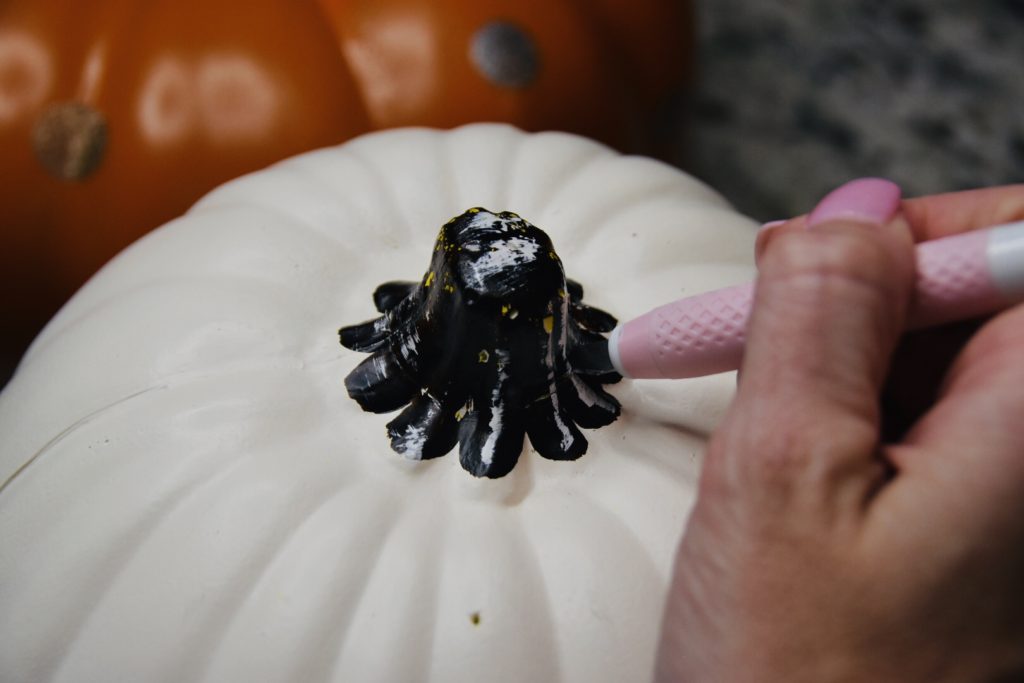
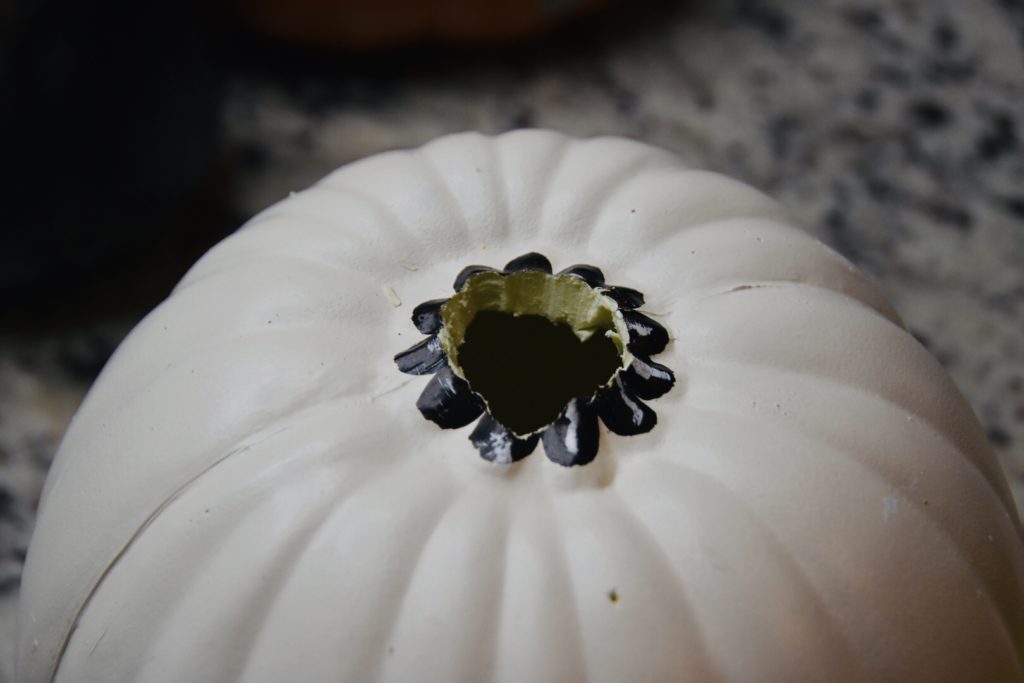
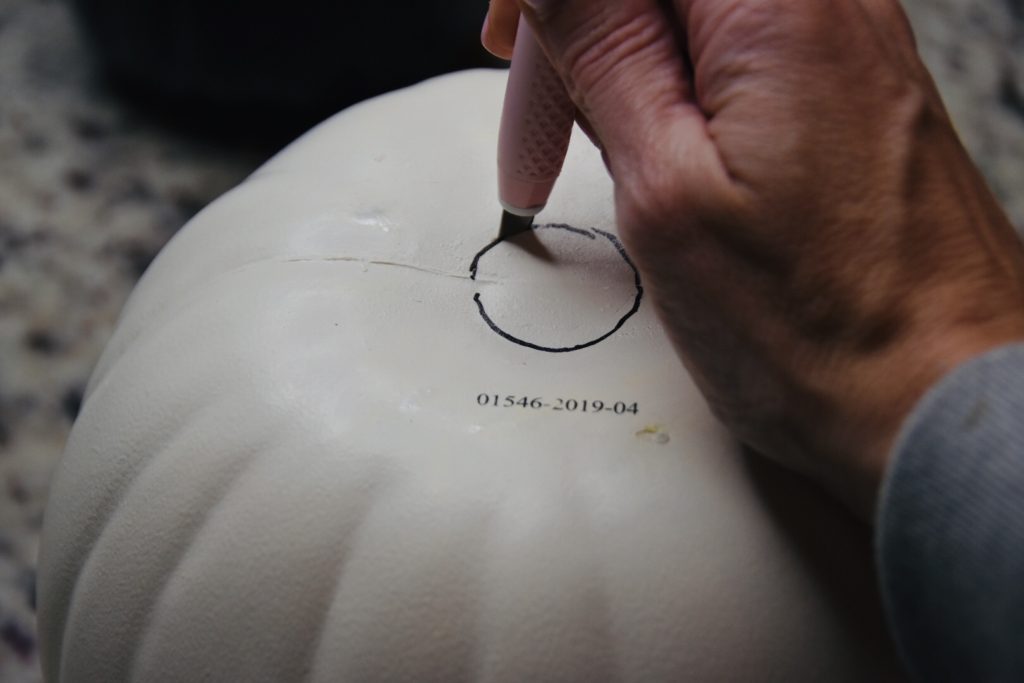
First, stack you pumpkins to make sure that they are the appropriate sizes. If you choose, you can decorate the pumpkins with your favorite vinyl designs. Next, trace a 1″ diameter circle around the stem of the large and medium pumpkins. Use your knife to carefully cut through the styrofoam, removing the stem and creating a hole at the top of the pumpkin. Next, trace a 1″ circle at the bottom of the large, medium and small pumpkins and cut the styrofoam. You want to make sure that your circles are centered on each cut so that your topiary stands straight when you place the PVC piping through the holes.
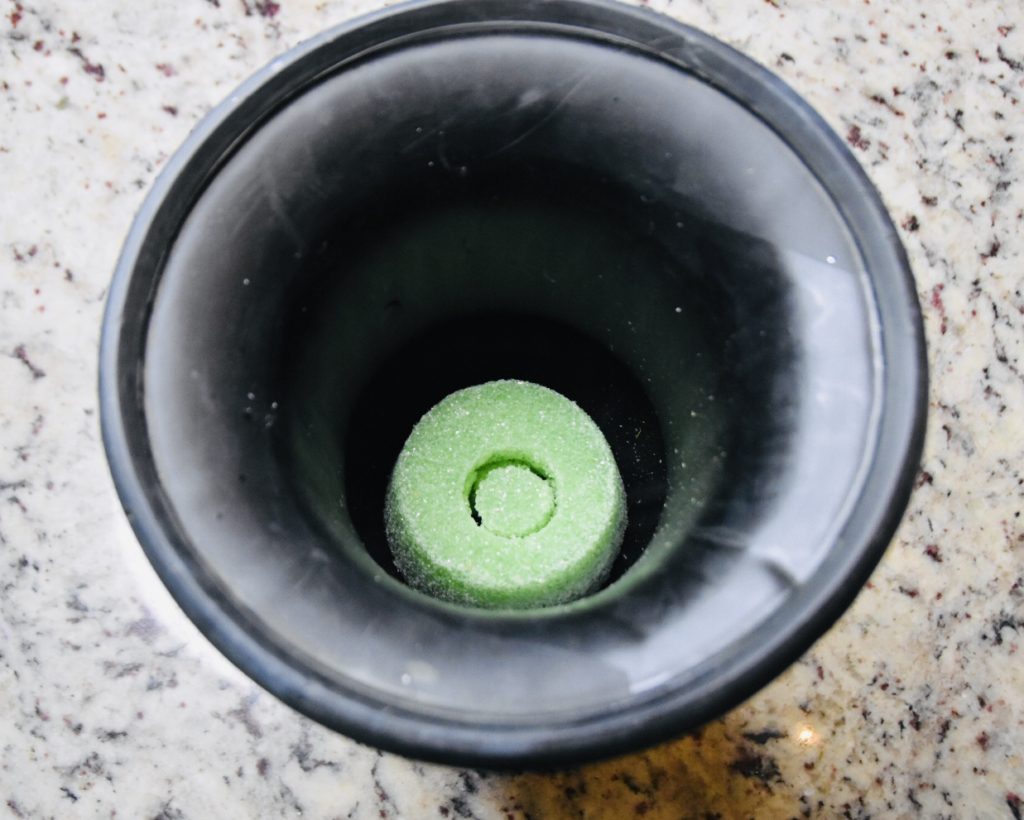
Next, we prepare the urn. Place the styrofoam block or circle (whatever fits best) inside and on the bottom of the urn. You want to make sure this is a snug fit as it serves as support for your topiary.
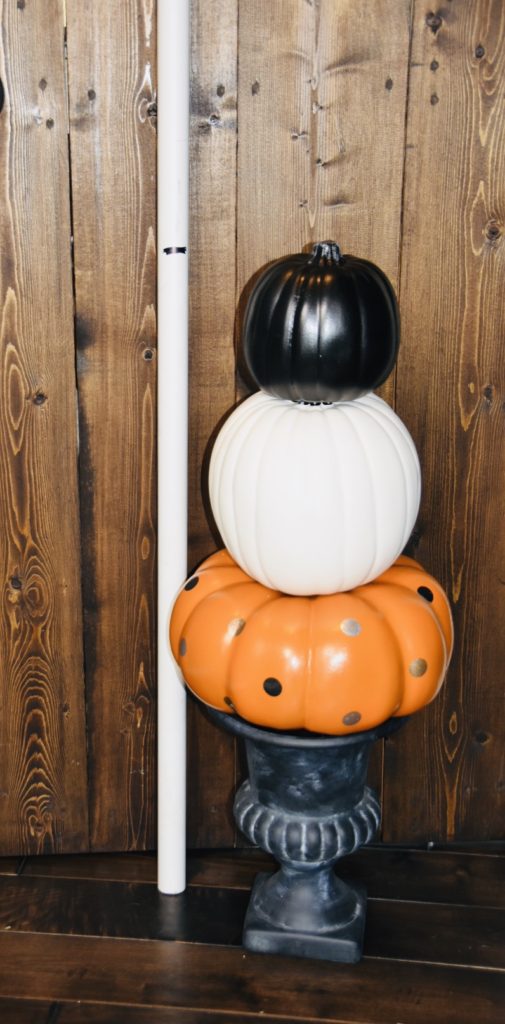
Next, you want to stack your pumpkins on your urn in order to measure and cut your PVC pipe to fit the length of the topiary. Place the PVC pipe next to the urn with the stacked pumpkins and mark the length right under the stem of the smallest pumpkin. Cut the PVC pipe using a hack saw. If you don’t have a saw then you can take the PVC pipe to your local hardware store where they can cut it for you.
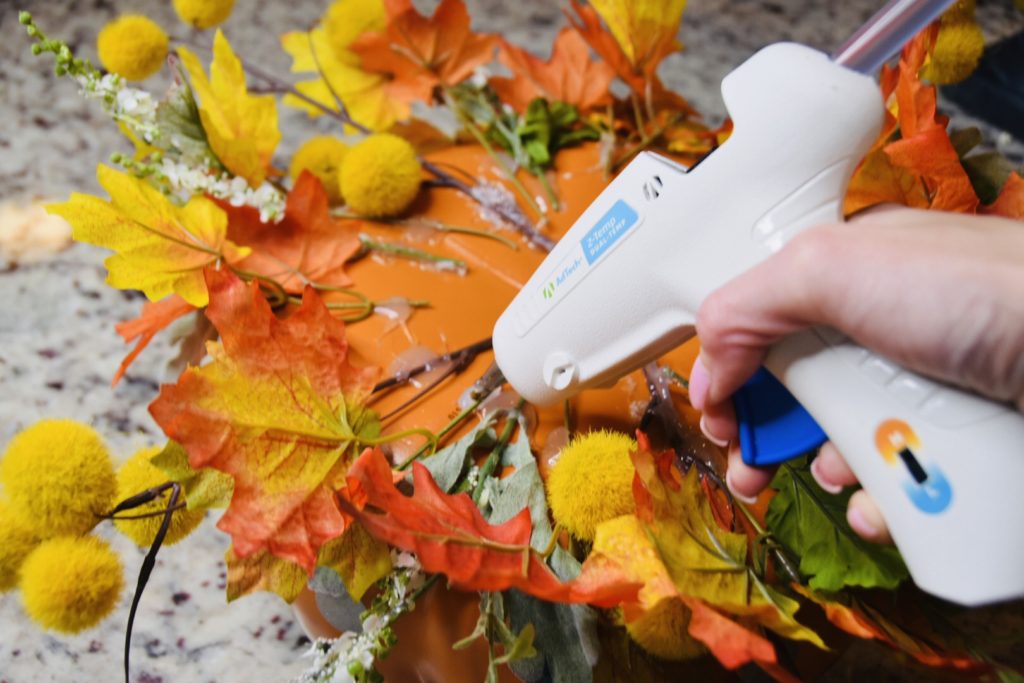
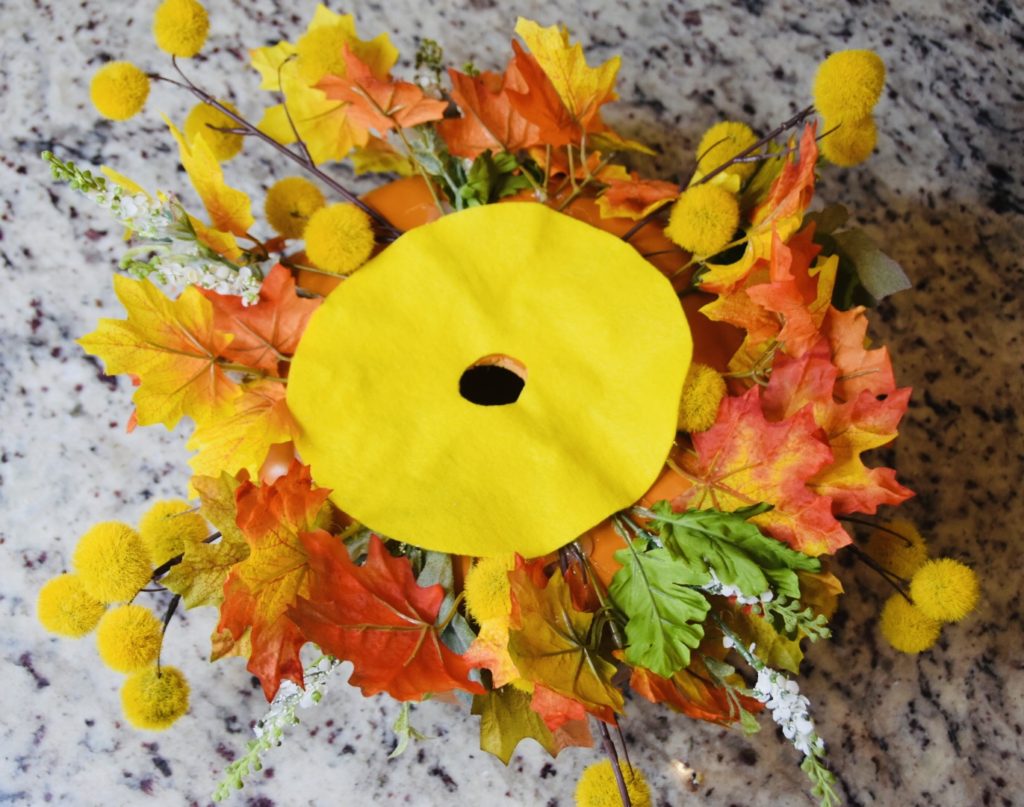
Now it’s time to add some greenery and flowers to the base of your topiary. Using a hot glue gun, glue the leaves, greenery and flowers to the bottom of the large pumpkin. Make sure you’re leaving enough of the decoration hanging off the sides of the pumpkin so it will be visible when you place it on the urn. Next, cut a circle out of felt and glue it to the bottom of the pumpkin covering the stems of the greenery. Make sure you cut a hole in the middle of the felt so the PVC pipe can pass through.
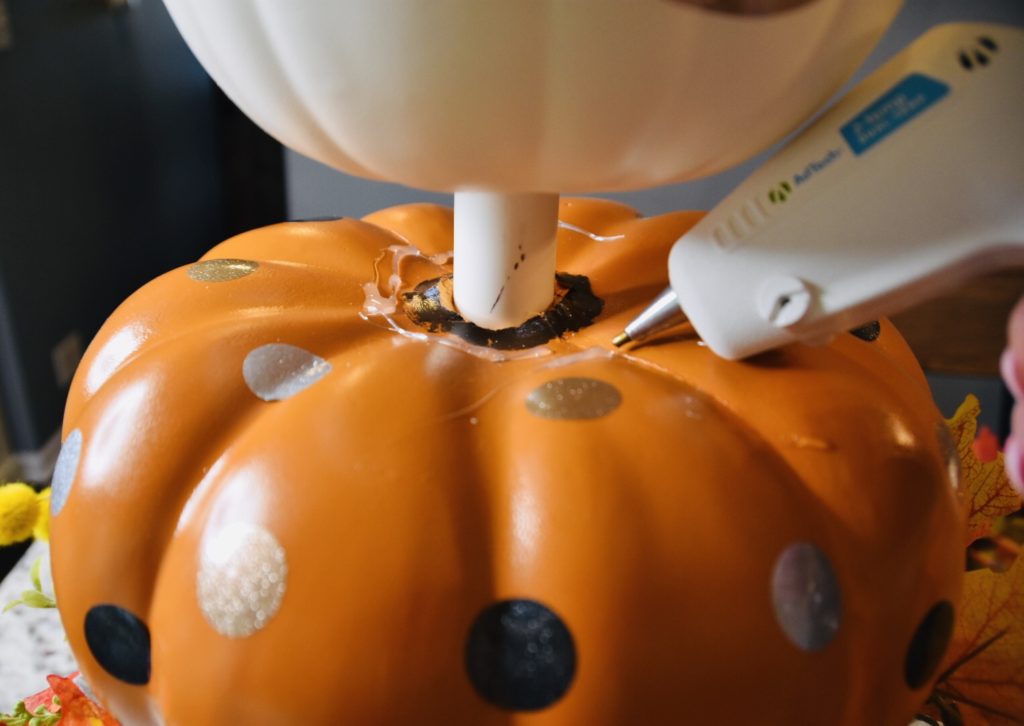
Finally, it’s time to insert the PVC pipe through your pumpkins to create the topiary. Once you have the pumpkins stacked, push the bottom of the PVC pipe down into the urn and through the styrofoam. Your topiary should feel secure. Next, add some hot glue to the top of the large and medium pumpkins in order to secure the pumpkins in place. If you plan to place your topiary outdoors you might add some sand inside of the urn to weigh down the base. Find a place to display your creation and enjoy!